Choosing the right size tiles: the perfect solution to fit your needs
Measuring floor tiles: where should I start?
Even though no universally standardised dimensions exist, based on general size categories, tiles can be classified in the following way:
-
Small tiles
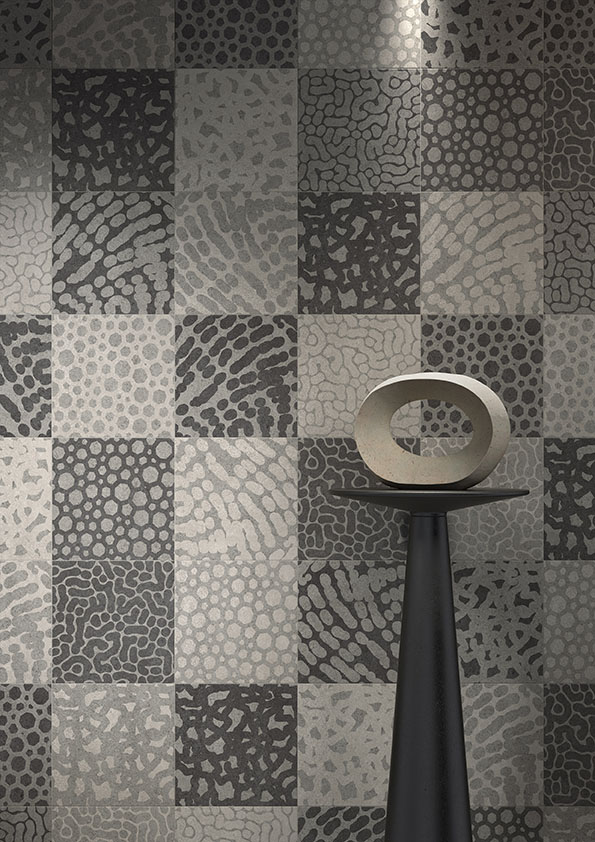
In this case, we are talking about tiles of up to 30 x 30 cm, including ceramic mosaics and murettos. A rich assortment of colours, designs and finishes are widely available in this smaller format, which is quite suitable for many areas, and particularly for walls.
-
Medium sized tiles
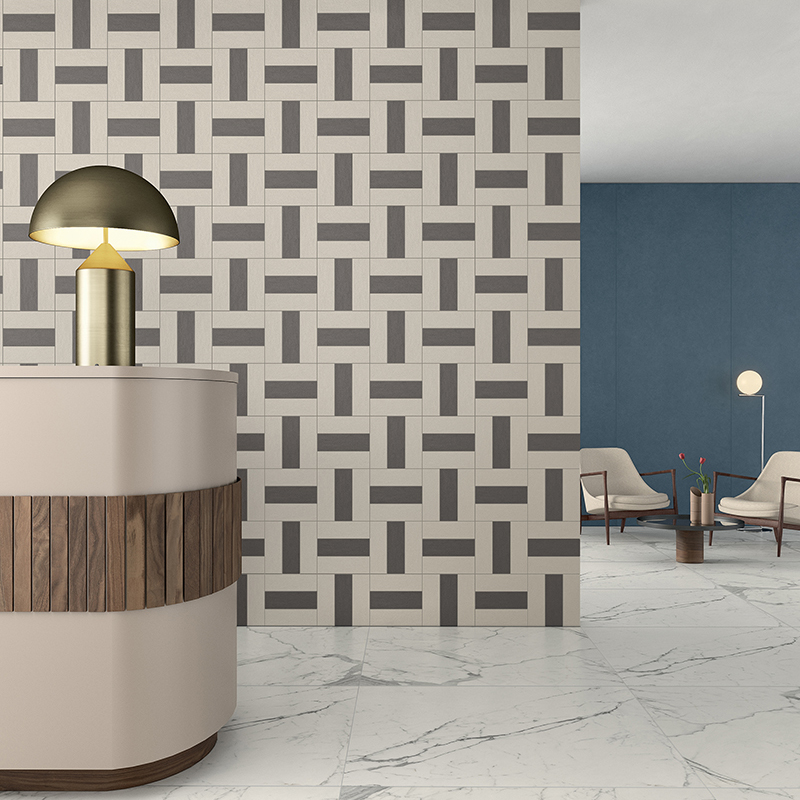
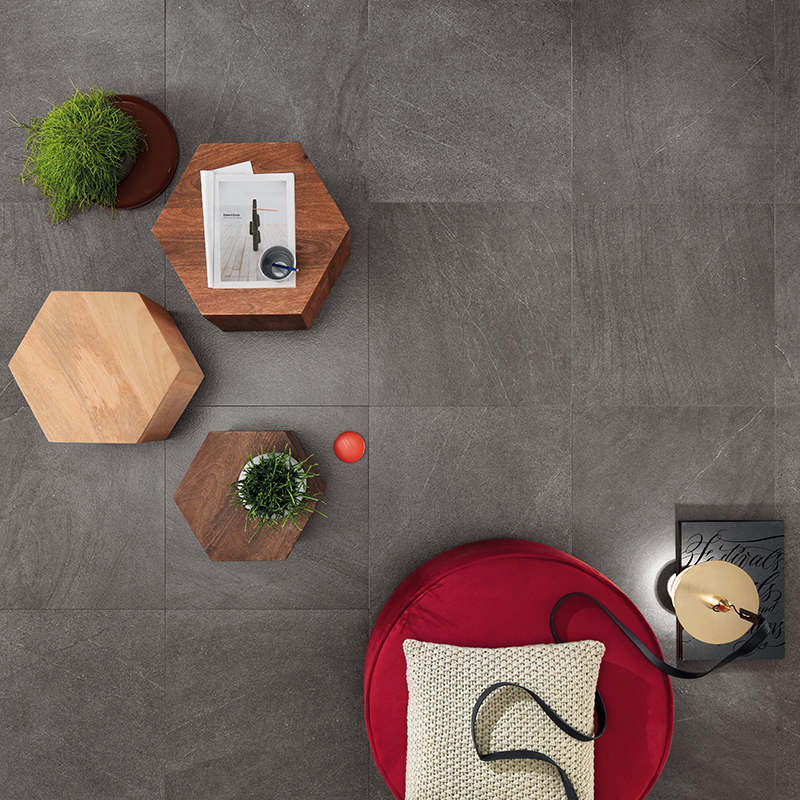
Up until about twenty years ago, 60 x 60 cm was seen to be pushing the sizing frontiers in the world of tiling. These days, given its widely considered status as a medium to small size, many manufacturers do not even include this in their ranges, giving preference to the 75 x 75 cm or 80 x 80 cm sizes. Nevertheless, due to its versatility, the use of the 30 x 60 cm tile on both floors and walls has remained popular.
-
Large size porcelain tiles
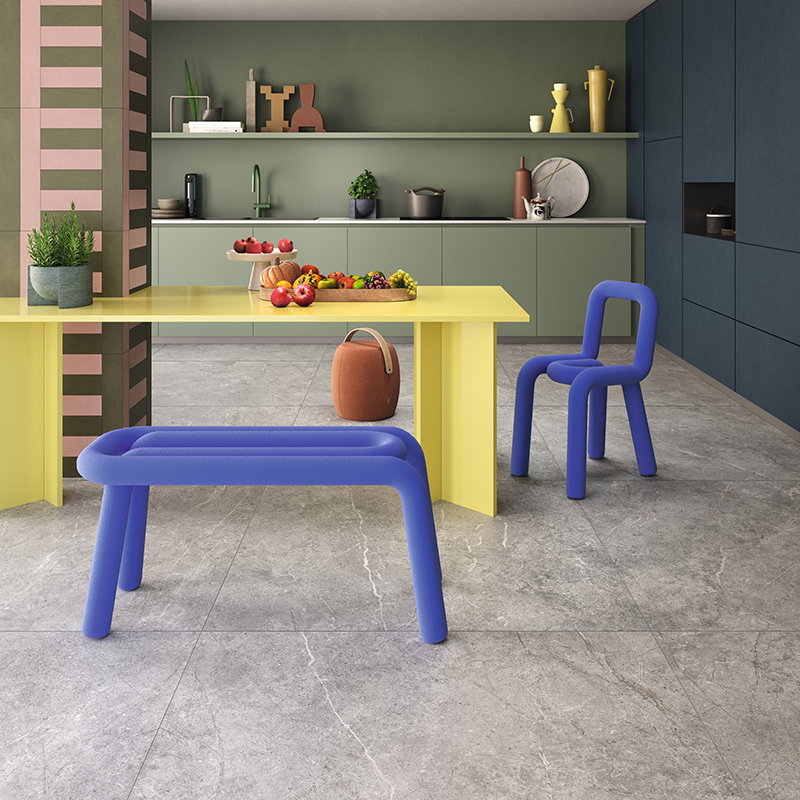
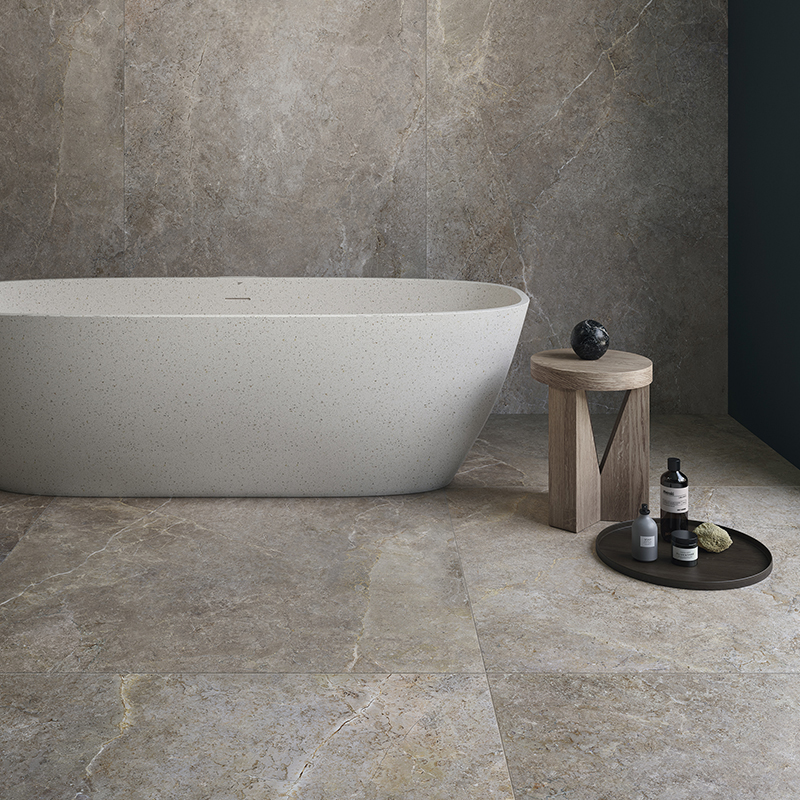
There is a great demand for larger sized tiles these days, for a multitude of reasons. These include the need of fewer joints, giving a cleaner and less interrupted appearance, but also more consistent and cohesive graphic designs and colour nuances. Despite their often imposing dimensions, they are remarkably flat.
-
Laminated porcelain tile slabs
Laminated porcelain tiles were created approximately twenty years ago through a new manufacturing process, producing slabs so large that they surpass the very concept of format (in fact, they do not require the use of moulds)." Based on their original 100 x 300 cm and 120 x 278 cm formats, an infinite amount of potential sub-formats can be created. These large slabs work just as well on floors as on walls and, fitted on a vertical surface, their largest size fully extends to the maximum standard ceiling height of residential properties. Not to forget of course, these can also be fitted as an exterior cladding for buildings, as well as covering worktops and furniture surfaces.
To decide on the correct tile format for your purpose, you must first ask yourself “what is the surface of the area that I need to tile?” Once you have addressed this crucial question, others will most certainly arise. So, let's try to look at the most important ones together.
Square or Rectangular?
While this primarily appears to be a question of personal taste, it will also be determined by the type of surface to be covered and, in part, by your decorative preference for these tiles. When deciding on the correct tile format, you will need to take the following into consideration:
-
The geometric layout of the area to be tiled
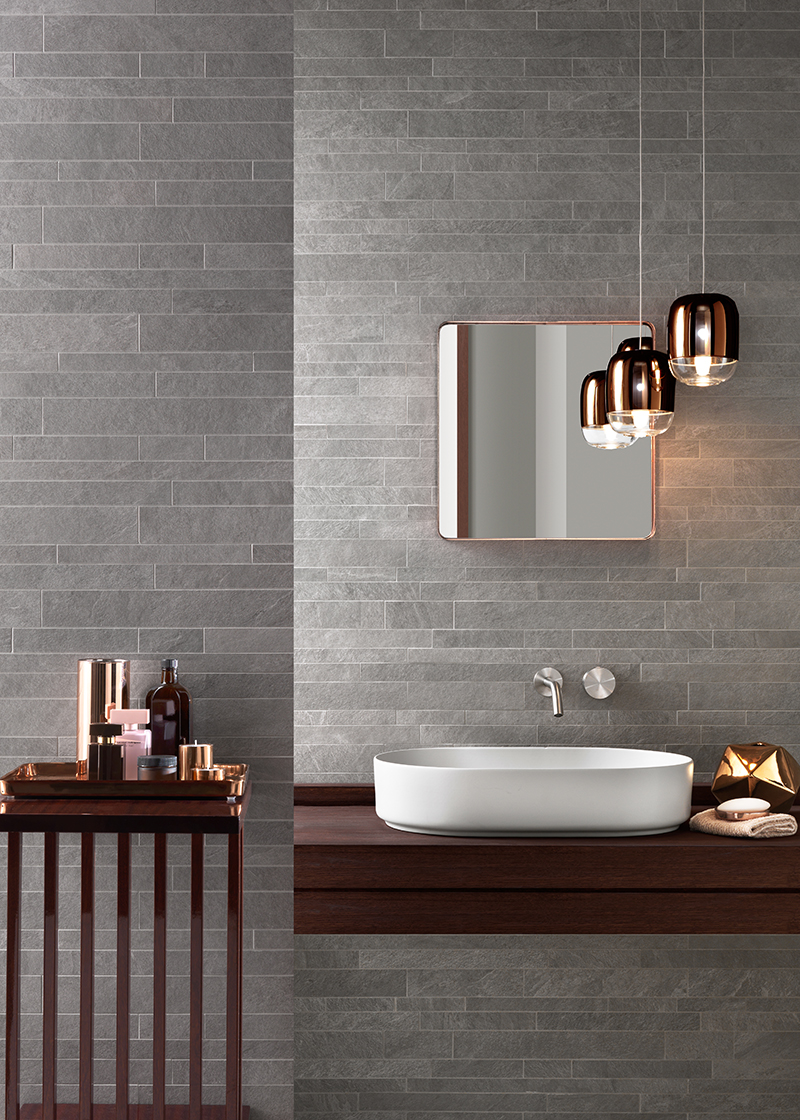
Rectangular tiles can enhance the look of long, narrow rooms, while the ambience of large and airy spaces can be displayed to good effect by covering the floor with square tiles. As a rule of thumb, when choosing your wall tiles, you must consider the room's height and the surface area to be covered, although this basic principle remains unchanged. However, it is always possible to offset the overall effect, for example by fitting wall tiles at a lower height in a bathroom. In actual fact, when wall tiling stops at 120 cm from the ground, the best option is to cover these walls with 60 x 120 cm ceramic wood effect planks or tiles, which will reduce the occurrence of joints and intersecting edges.
-
Your personal look
Some ceramic effects are better expressed by rectangular tiles, others by square ones, while in other cases, the format does not directly impact the style. The parallel veins in stone tiles, or the marbled streaks of stones such as travertine, will stand out within a rectangular shaped tile, regardless of whether you were to use large or small tiles.
Take a look at these two practical examples to better understand how you can bring out each of these styles
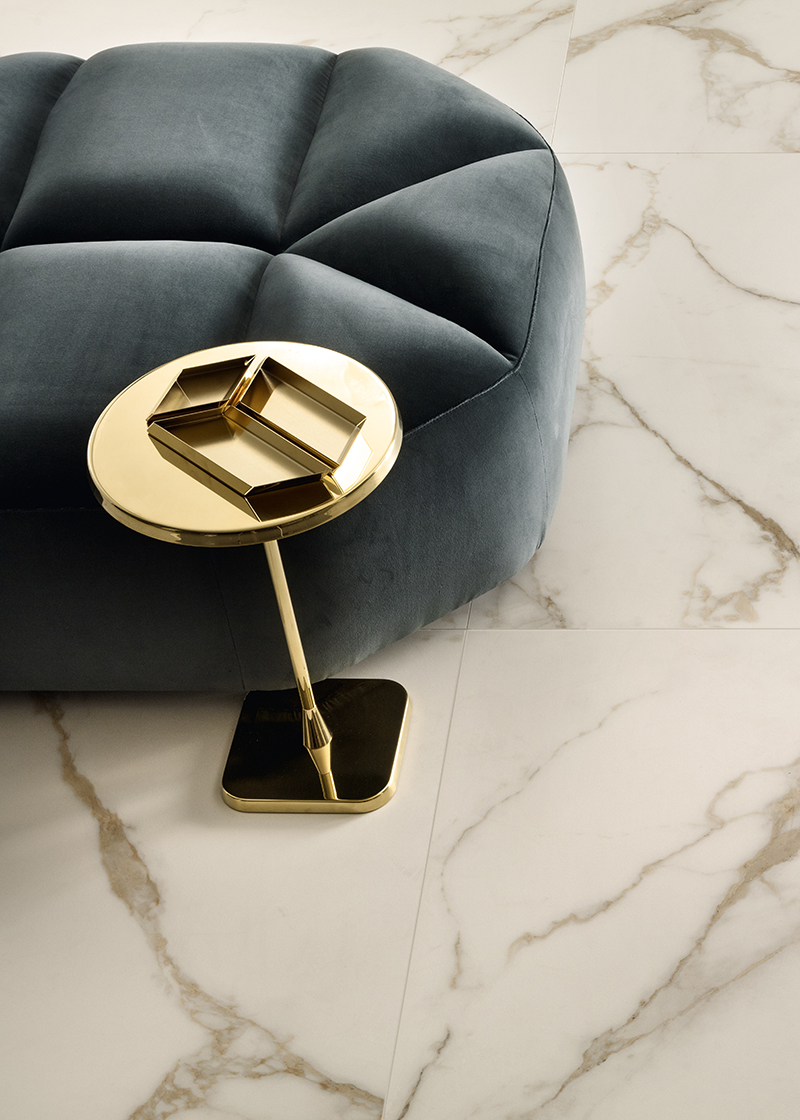
- Given its graphic pattern, a marble effect, like Calacatta Oro tile, can be emphasized through using either square or rectangular tiles.
- On the other hand, while part of the same collection, and depicting a similar design aesthetic, the Venato Bianco has its own transversal grained aesthetic. If you were to choose these tiles in a square format (such as the 120 x 120 cm with a 6 mm thickness), it would be a clever idea to rotate the tiles by 90° as you lay each one down, thereby alternating the direction of the grain until you have gradually created a checkboard effect. Here, the actual origins of the square tile will appear underfoot, as this centuries-old design motif surfaces through the floor.
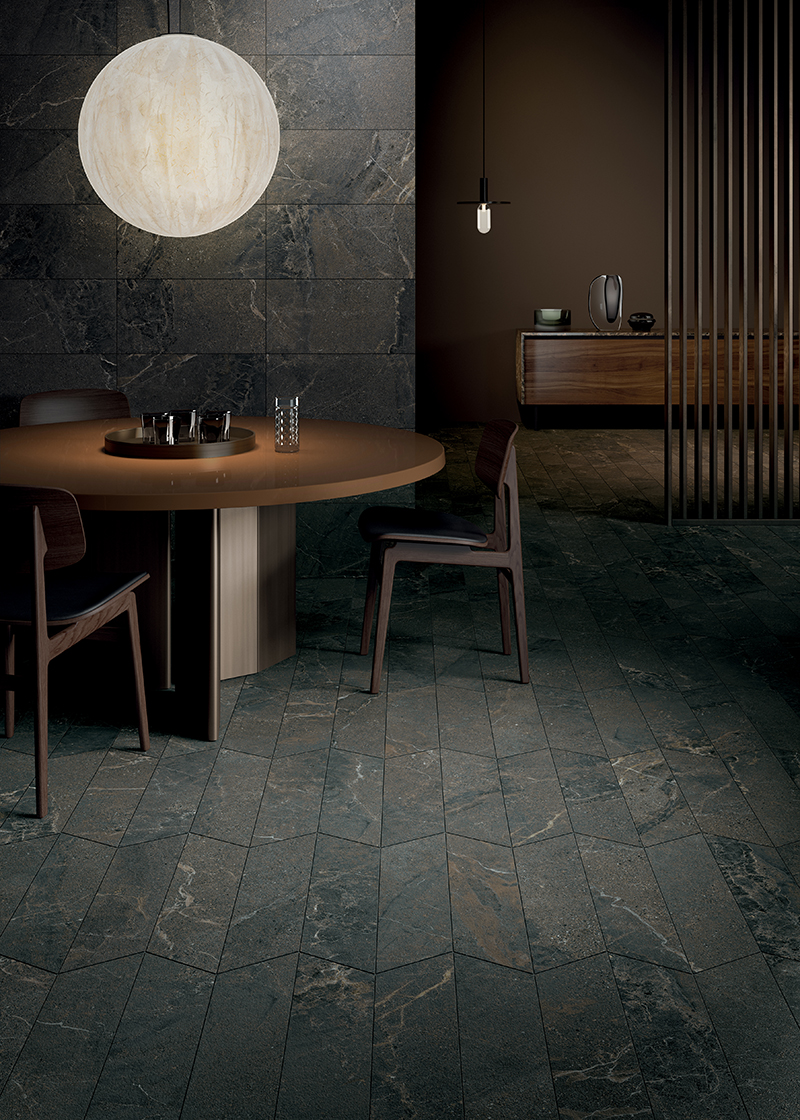
Classic shapes can be laid alongside the more modern ones (or those that have been rediscovered in recent years), such as hexagons , rhombuses and chevrons. This method gives an air of sophistication mixed with originality when laid on both floors and walls.
Floor tiles: large or small ones?
It is important to note that the larger the surface area to be covered, the larger the tile size should be in relation to this. Using larger tiles will actually reduce the number of joints, and therefore improve the aesthetic appearance of your preferred style. These are visual effects that significantly impact the overall design of the space, even to the extreme of large, thin slabs that exaggerate these aesthetic advantages of larger formats.
Choosing small tiles for the bathroom makes more sense as these rooms are often quite small. Making use of the smaller hexagonal tiles is a good design choice for these tiny spaces, especially those of a monochrome colour theme, which is traditionally used for smaller areas. A good example of this can be seen in cotto, which retains its original artisanal look, and rarely exceeds 30 cm on each side.
Finally, a distinctive tile shape that lends itself well to floors is the chevron. While this design dates back to ancient times, it still has a very contemporary appeal. The outlines of this shape appear to cross over each other through a network that is defined by its edges, and forming a lively and stylish floor tile pattern.
Large stone tiles: grout lines and how to avoid them.
Some of the visual effects used in ceramic tiles, such as the concrete look, are so realistic that they almost call for the choice of large-sized tiles for floors, to do away with any grout lines. However, this is a serious mistake, so be wary of this! Grout lines are always required, even if minimized, to allow for slight movements in architectural structures over time.
The grout, moreover, greatly reduces the lippage effect: that slight misalignment between tiles that sometimes occurs at their intersections. There are many reasons why these slight irregularities appear, which can hinge on the substrate, the layers of adhesive utilised and the flatness of the tile. It is certainly possible to overcome these problems, firstly by making sure you rely on a tiling expert for your job. Secondly, you will need to carefully plan for the grout lines during the installation stages. By spacing the joints at equal intervals, and leaving just a few millimetres between each tile, the grout lines will greatly reduce any potential lippage between adjacent tiles, which would naturally be limited if your tiles have been correctly installed.
Lea Ceramiche's tile shapes are all rectified. This is a process occurring at the end of tile production, at which point the corners of a tile will be perfectly corrected into four equal angles; the same process then ensures the tile's edges are at clean precise angles to its surface. Once rectified, tiles can be aligned closer to each other, to as much as a 2 or 3 mm grout line between them, as they are laid down (this obviously excludes expansion joints). With the grout line so greatly reduced - and perhaps with the use of larger tiles or even slabs - the number of jointing gaps is reduced to the minimum. If the same coloured grouting is used, the illusion of one single continuous material will be more or less complete.
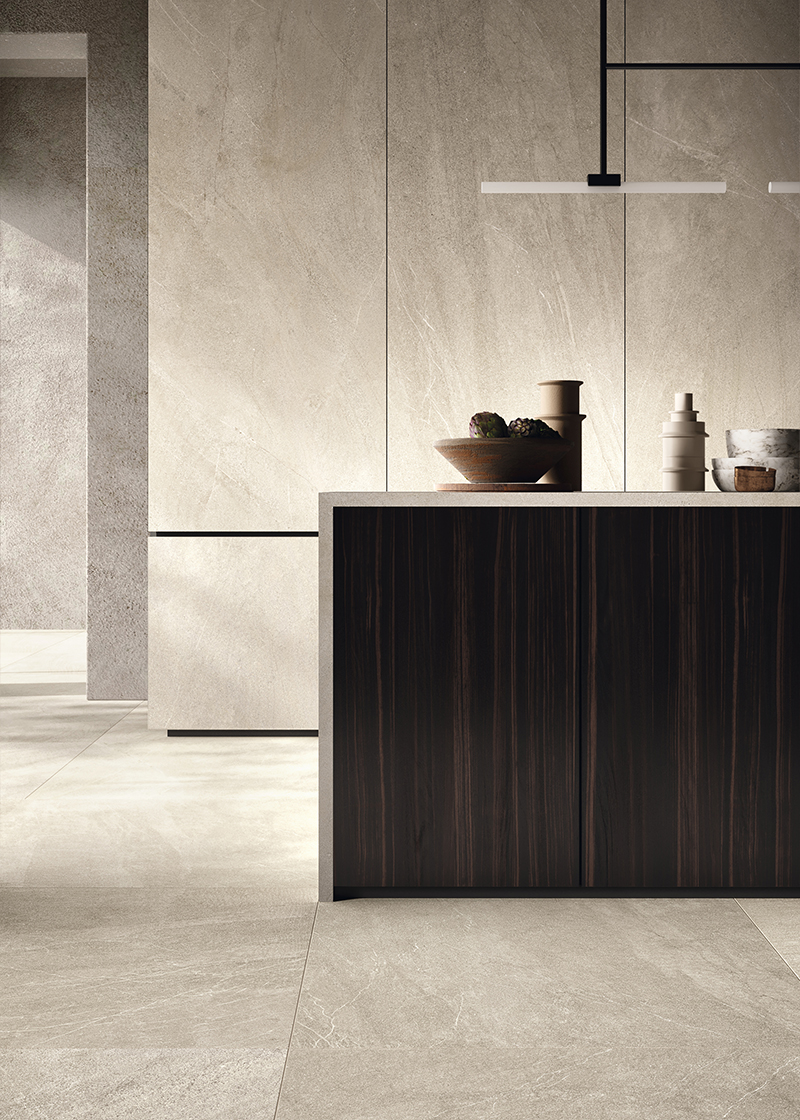
Lea Ceramiche: not only large slabs
Lea Ceramiche is known for its commitment to the design of mainly larger shaped tiles, as well as of its Slimtech laminated stone slabs (find out more information about this solution here). However, a perfect example of the brand's small sized tiles is its Pigmenti collection. This consists of 12 colours, created by Ferruccio Laviani, which are also available as wall tiles (8.2 x 24.9 cm), and which can be paired with its double-length slat tiles (8.2 x 50 cm).
And of course, larger formats are available:
- the Concreto collection, designed by Fabio Novembre and a winner of the Good Design Award, offers the look of concrete in a 90 x 90 cm size, with a standard 9 mm thickness.
- Side Stone, an alternative stone effect tile inspired by the Ceppo di Gré stone, is available in the same thickness, and produced up to the 120x120 cm size.
- Along with its availability in a 60 x 120 cm size, the Masterpiece collection, with its characteristic larger-sizes, was created by Ferruccio Laviani with the double-edged aesthetic ideas of "concrete" (Master), and " Venetian" (Piece) floors.
After reading this brief guide to choosing the right tile size for your project, you may still have some doubts. No problem! You need do no more than simply use our 3D visualizer home tool, Real configurator. This will give you an opportunity to visualise the surfaces of your living room or bathroom with Lea Ceramiche tiles installed. As you will see, the aesthetic of these distinctly different sized spaces will not only be greatly determined by the ceramic patterns you choose, but also by the shape of your selected tiles.
